
What good proposal for the 31 is the mummy of wide noodles not?.
.
craftzine I took it and loved it, pass on the other blog that enconttrarán more difficult.
.


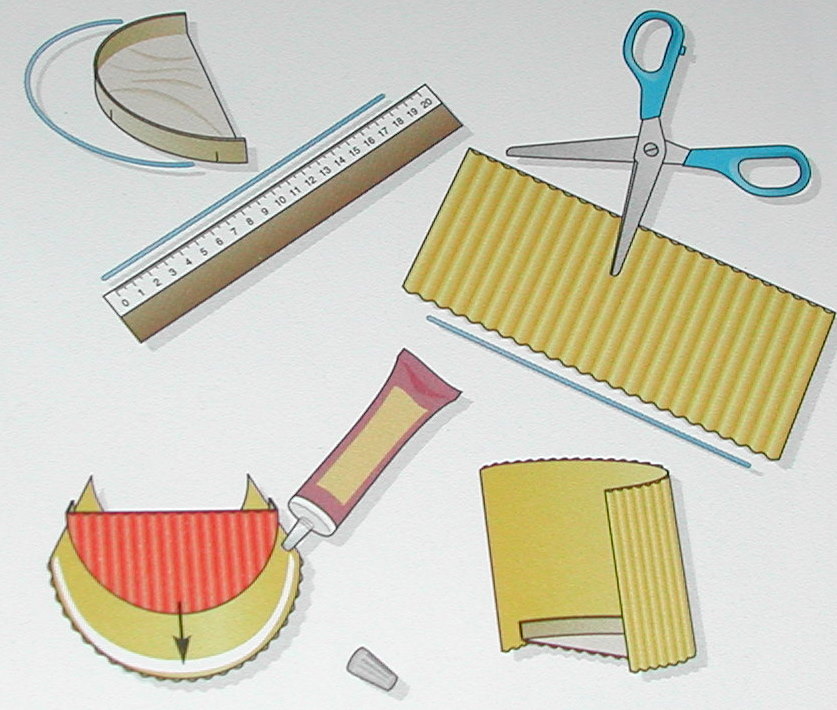 5 - Measure the perimeter of the half boxes with string and add 3 cm. Cut 3 rectangles of 11 cm. height and length equal to the measurement obtained. Channels have to remain on board vertically. Glue the rectangle to the half cases (see image above)
  6 - Make two flaps and glue the bottom. Then glue the pockets at the ceiling through the middle starting
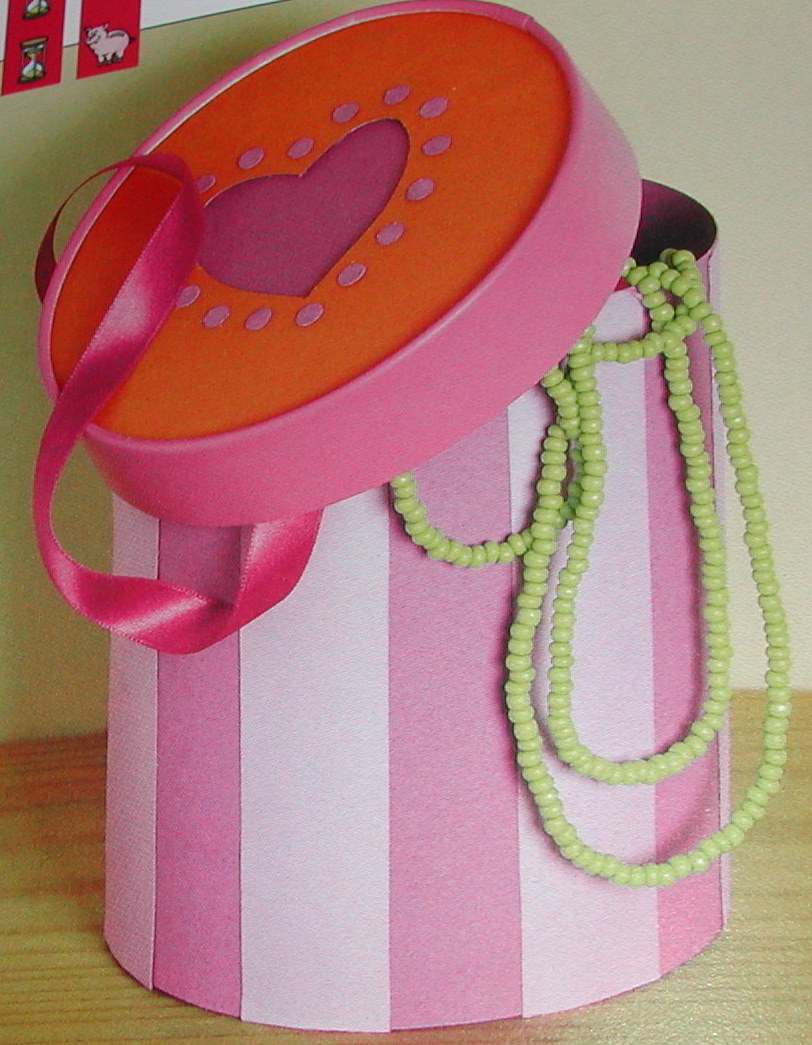

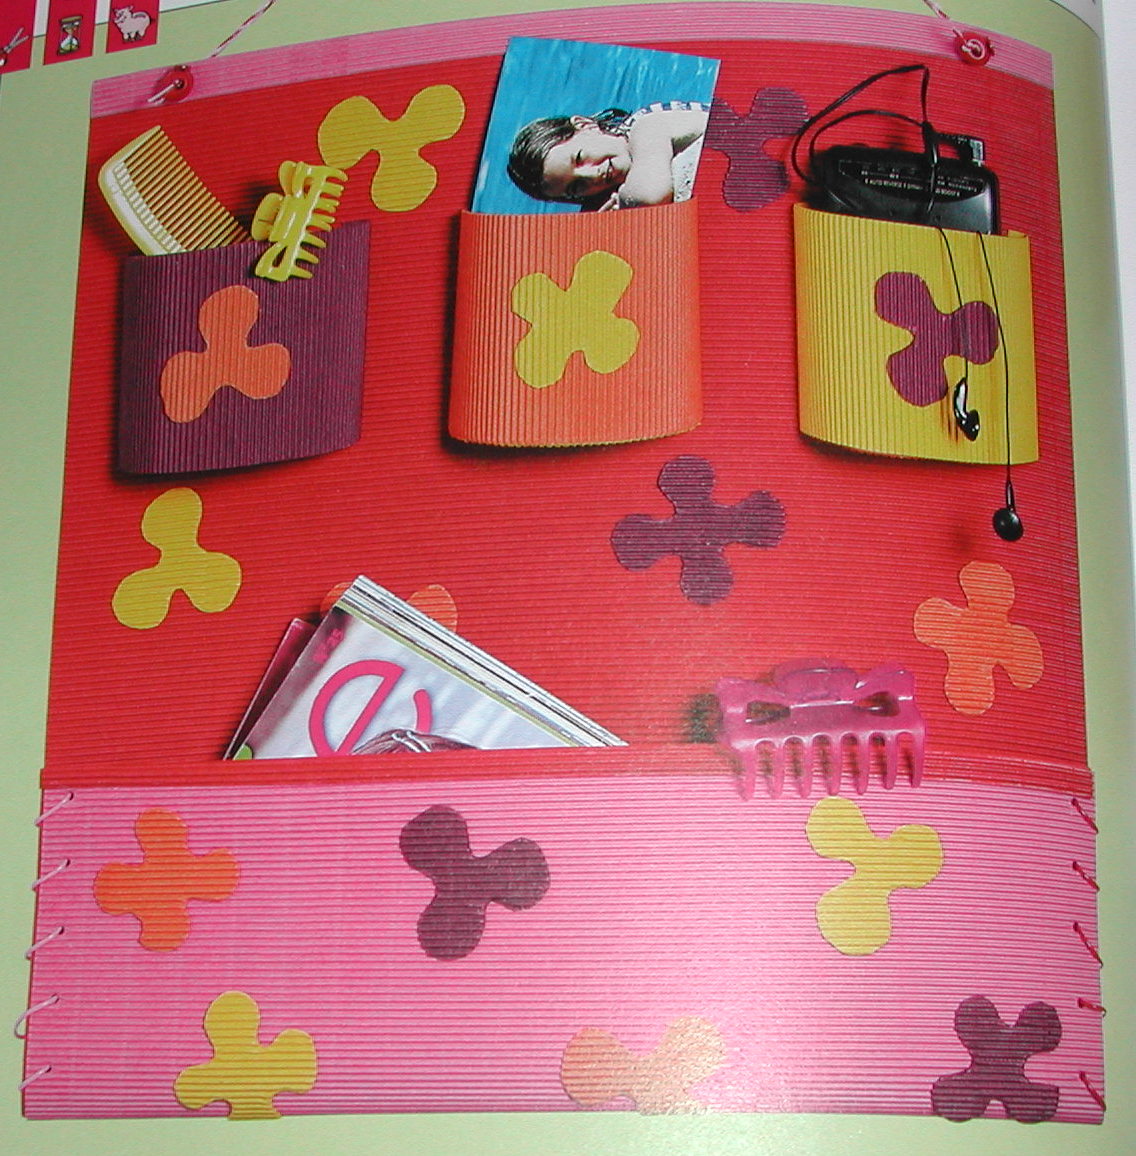
 MATERIAL: Building cheeses, ruler, colored paper, paint, paintbrush, glue, clear plastic, tape or string, stickers, scissors, hole punch, cutter, pencil, tape
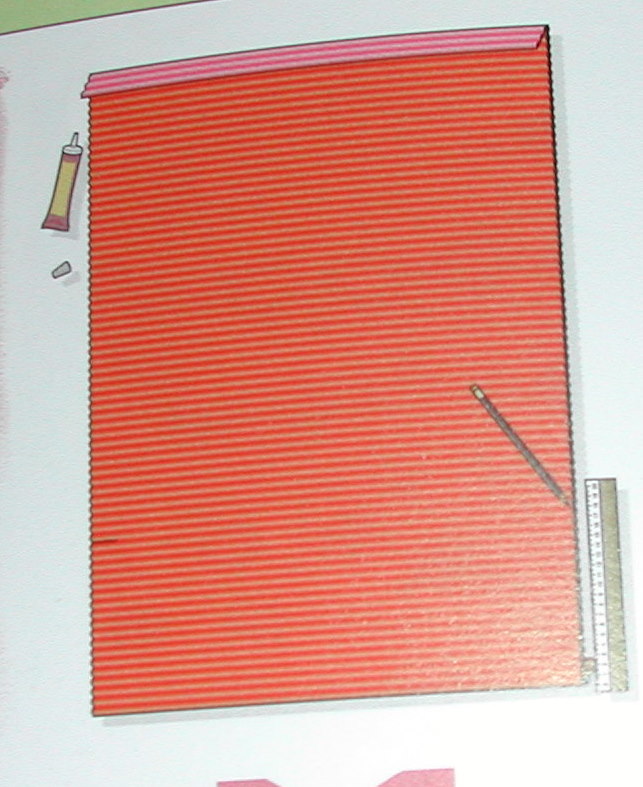
  1 - With a string to measure the perimeter of the base of the box. Cut a rectangle of cardboard slightly higher width and height you want and paste it around the base
  2 - pintgar Remove the lid and the two sides. Drill contours, emptying a subject with the cutter and glue on a piece of plastic under
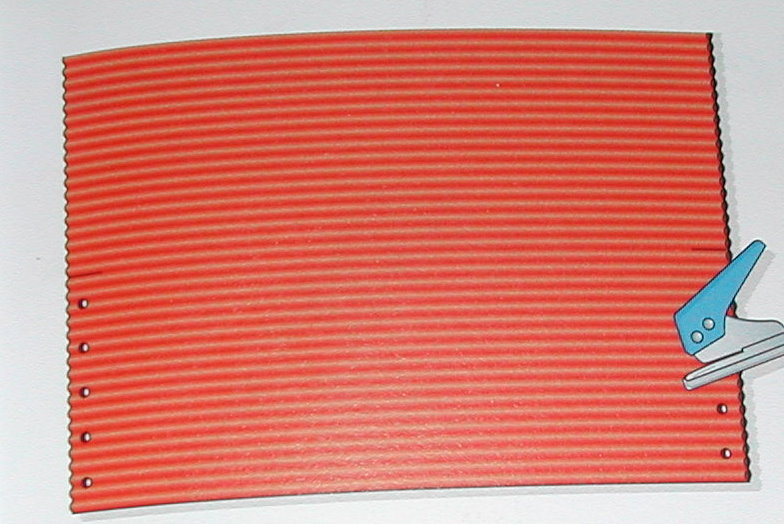
  3 - Prick top, passing a piece of ribbon or string through the holes and knot the ends. You can also glue a ribbon loop to the box.
  4 - Replace the lid and decorate it all with pegarinas, confetti and strips or patterns of paper